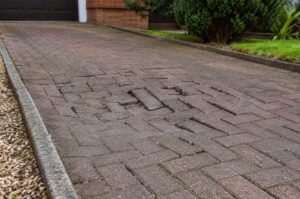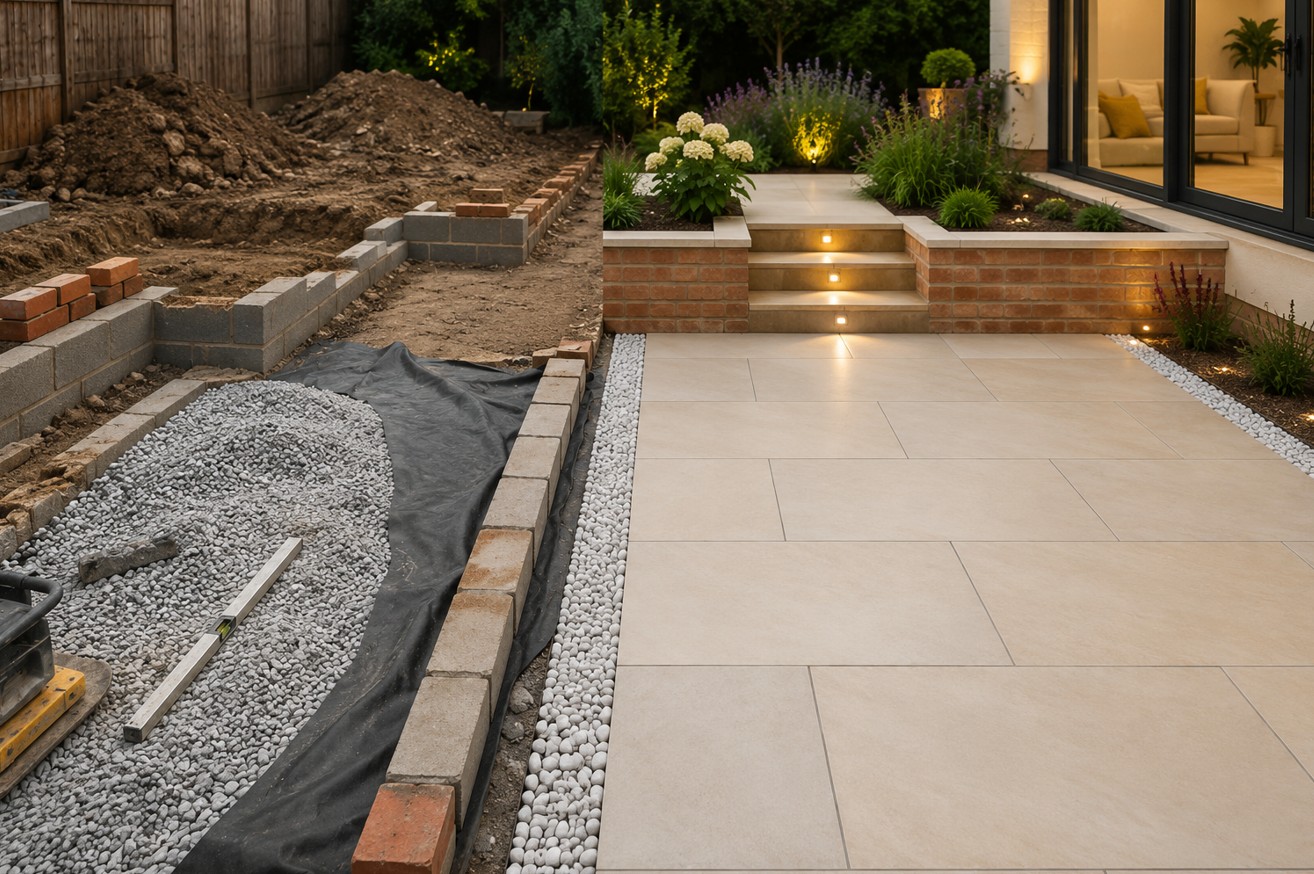
For almost 17 years, our primary job has been to lay patios and remove the botched, rotten ones across Devon, Cornwall and the rest of South West areas in the UK. Our South West weather doesn’t forgive sloppy work at all. We have high clay soils, a lot of rain and a freeze/thaw cycle which will expose anything that has not been done correctly. Here are the five typical South West patio mistakes we see on repeat and the exact methods we use to make sure your investment lasts decades, not months.
Key Takeaways:
- Drainage is essential: If there is no 1:80 slope from your house, water will pool and eventually your foundations will get damaged.
- Porcelain beats stone: Natural stone soaks up rain like a sponge but porcelain hardly gets wet.
- Sub-base depth is important: 150mm of compacted MOT Type 1 completely stops sinking. Full stop.
- Polymeric sand works: Standard mortar cracks, builders’ sand washes out. This keeps weeds out permanently.
- Measure your furniture first: Build the patio that fit your table and chairs instead of the slab sizes.
A Flat Patio
When water has nowhere to run, it pools against your house, soaks into the mortar and feeds green algae that turns your garden into a slip hazard. That is the number one issue we remedy.
We arrive at jobs where the existing patio looks good but slopes gently towards the back door. The result of this is that damp creeps up the brickwork and the patio stays wet for days after a shower.
Our drainage checklist to avoid this error:
| Problem | Our Fix |
| No gradient (completely level) | Set a consistent 1:80 fall (12–15mm per metre) running away from the property. |
| Water backing up against the wall | Install a linear ACO channel to intercept and divert runoff. |
| Surface water pooling in corners | Use a laser level during the sub-base compaction to guarantee flow. |
We verify the gradient twice. Once when the hardcore goes down and again when the first slab is bedded. If we can pour a cup of water on the finished surface and it doesn’t race away from the house, we haven’t done our job properly.
Wrong Choice of Materials
Choose porous natural stone like Indian sandstone. It absorbs moisture, harbours algae and spalls (cracks) during winter frosts. This is one of the most expensive South West patio mistakes to rectify because you often have to lift and replace the entire surface.
We get it that sandstone looks authentic. But in our region, authenticity can quickly turn into a high-maintenance headache. We recently took out a three-year-old sandstone patio that looked fifty years old because the owner was jet-washing it every six weeks.
Compare the materials:
| Feature | Natural Sandstone | Porcelain (Our Recommendation) |
| Water Absorption | 3–5% (soaks it up) | <0.5% (virtually non-porous) |
| Algae Growth | High (constant scrubbing) | Low (quick hose-down cleans it) |
| Frost Resistance | Porous = risk of spalling | Fully frost-proof |
| Slip Rating (Wet) | Variable (often slippery) | R11 anti-slip (grippy when wet) |
| Lifespan with Maintenance | 5–10 years (heavy upkeep) | 20+ years (minimal upkeep) |
Porcelain costs slightly more per m² upfront. But factor in the £200+ you’ll spend annually on specialist cleaners and the hours of back-breaking scrubbing. So it pays for itself inside two years and stays Instagram-worthy for a decade.
Insufficient Sub-Base Preparation
Because skipping proper depth and compaction means the ground beneath moves and your slabs sink within months. We’ve dug up “failed” patios to find nothing more than 50mm of loose sand thrown over muddy topsoil.
The South West has a lot of clay soil. Clay swells when wet and shrinks when dry. If your patio isn’t anchored to a solid, compacted layer of stone, that seasonal movement will crack your slabs and create trip hazards.
Here is what we follow for our sub-base process:
- Excavate: We dig down a minimum of 150mm (200mm for driveways).
- Import: We lay 100–150mm of MOT Type 1 limestone. It’s the angular, jagged aggregate that locks together under pressure.
- Compact: We run a vibrating plate compactor over it in three separate 50mm “lifts.” We don’t move to laying until that surface is rock-solid and doesn’t budge under a heavy boot.
We tell our clients upfront: if you want to save money, do not save it here. A cheap sub-base is the root cause of sinking, and rectifying it means a complete demolition and re-lay. We build foundations that outlast the house.
Standard Concrete & Sand Usage
Yes – Using standard concrete or common “builder’s” sand as joint material allows weed roots to penetrate through the joints within one year which is not only very frustrating but also a typical example of a job done in a hurry.
The reason is that when the ground shifts due to changes in temperature, the concrete gets vertical stresses and results in cracks. These cracks expose the soil to the weeds as the seeds, carried by wind, fall into the cracks and get access to the soil that leads to the growth of the weed. The same situation happens if we use normal builder’s sand as a jointing material because it does not have a binding agent. So, after a strong rain, the sand gets washed away and leaves large cracks.
How We Stop Weeds from Growing Through Patio Slabs:
We use Steintec, which a cementitious jointing compound and doesn’t contain resins. It’s a high performance type 25 cementitious mortar which is the best on the market. It fills the gaps properly so weeds have virtually no chance of growing.
Wrong Sizing
Building the patio around the paving slab sizes instead of your actual furniture. You end up with a gorgeous square that can’t fit your table and chairs.
We’ve measured countless 3×3 metre patios where the homeowner planned a six-seater dining set. Standard chairs need at least 600mm of clear space behind them to pull out. Do the maths: 3 metres gets used up very quickly.
Our sizing rule of thumb:
- Lay your outdoor furniture out with rope or marker paint before ordering materials.
- Add 600mm of circulation space around every seated area.
- Add an extra 500mm total to your final measurements for “breathing room.”
We often persuade clients to extend their initial measurements by 30%. It costs a little more now, but it saves you the heartache of a cramped patio and the expense of extending it later. We design for how you live, not just how the paving pattern looks on a plan.
Frequently Asked Questions (FAQs)
Here are the real questions South West homeowners ask us every week.
Do I need planning permission for a patio in the South West?
No, not usually. Patios are considered as permitted development if they are less than 300mm in height and you are neither in a conservation area nor listed properties.
What’s the best patio material for the South West’s wet climate?
Porcelain, hands down. It doesn’t absorb moisture, is very resistant to algae growth, and even after several days of heavy rainfall, a porcelain patio will stay slip-resistant.
How much does a new patio cost in the South West?
Depending on material and labour, a fully installed patio could cost you £200+ per sqm. It’s important to remember that factors such as the surface material, ground condition, and especially the need for drainage will affect pricing.
Conclusion
We are here to protect you from the costly experiences we witness weekly. The South West is stunning, but it’s brutal on building work. If you ignore drainage, choose the wrong stone, overlook the importance of a quality sub-base, manipulate the joints, or overfill the space, you have actually paid us two times: once for us to demolish it and once for us to do it correctly.
We believe in doing things right. Our patios resist the Devon rains like a duck’s back, remain spotless without the use of chemical cleaners, and are spacious enough to allow you to make the most of your outdoor living.
Ready to avoid these costly South West patio mistakes? Contact Essa Building Solutions today for a free site survey and quote. We build something that lasts longer – every time.